Share your Microsoft 365 or Outlook.com calendar with people inside or outside your organization
- From your Calendar folder, on the Home menu, select Share Calendar.

- Choose the calendar you want to share from the drop-down menu.
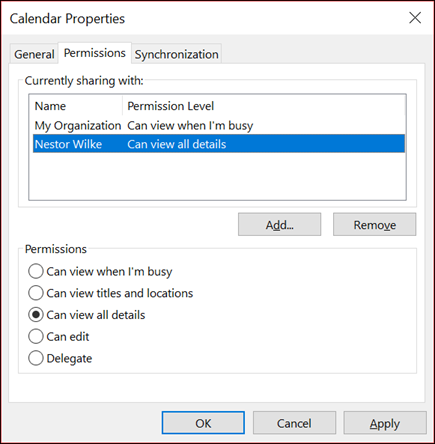
- In the Calendar Properties dialog box, click Add.
- You can search for people from your address book or type in their email addresses in the Add box. When you’re done adding names in the Add Users dialog box, click OK.
- Back in the Calendar Properties dialog box, select the person’s name or email address, then choose the level of details that you want to share with the person, then click OK.
- The person you’ve shared your calendar with will receive a sharing invitation by email.
- Once the recipient clicks Accept, they’ll see your shared calendar in their calendar list.
I see a “This calendar can’t be shared” error
If you see a message that says This calendar can’t be shared, there are three possible reasons.
- The email address is invalid.
- The email address is an Microsoft 365 Group
- The email belongs to an external user who isn’t part of your organization.
What permissions people have to your calendar
You can choose from several different permission levels when sharing your calendar.
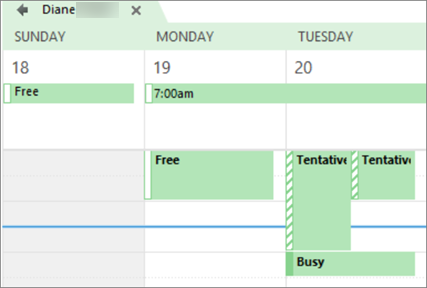
- Can view when I’m busy. Those sharing your calendar with this permission level can only see which times you’re available, like this:
- Can view titles and locations. Those sharing your calendar with this permission level will see availability and the subject and meeting location, like this:
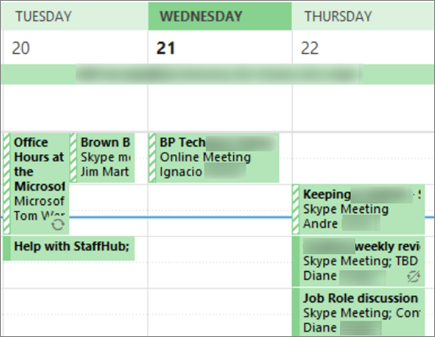
- Can view all details. Those sharing your calendar with this permission level will see all details of your appointments, just like what you see.
Thanks to Microsoft tech. note Share an Outlook calendar with other people (microsoft.com) for this advice. The tech. note also includes instructions for doing this from “Outlook Web access” and for removing shares