Set up email in Android email app
Choose your built-in Android email app:

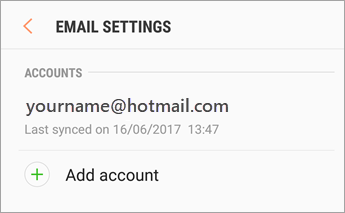
Open the Samsung Email app and tap Add Account if it’s your first time.
Or, go to Settings in the app > Add account.
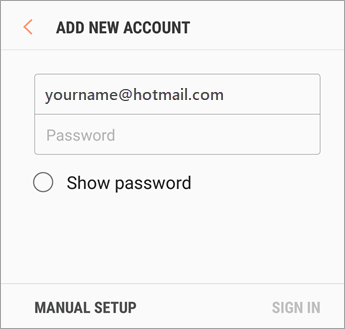
Enter your email address and password. Tap Sign in.
Note: If the email app detects your provider, you may be redirected to a different sign in screen.
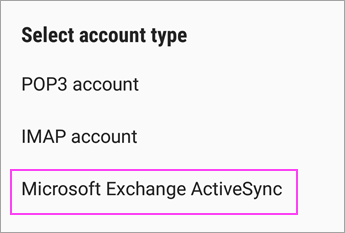
If you’re prompted to select account type, choose Microsoft Exchange ActiveSync to sync contacts and calendars.
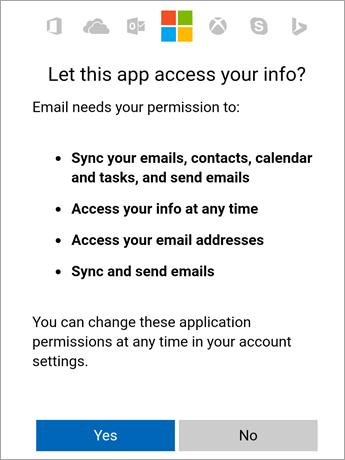
Tap Yes or Ok to confirm settings and permissions. What you see may vary depending on what kind of account you’re setting up.
If you’ve turned on two-step verification, you’ll verify your identity with your chosen method.
Syncing email, calendar, contacts, and tasks may take a few minutes.
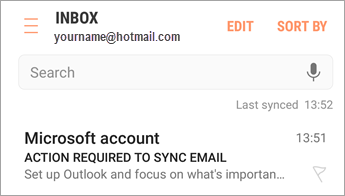
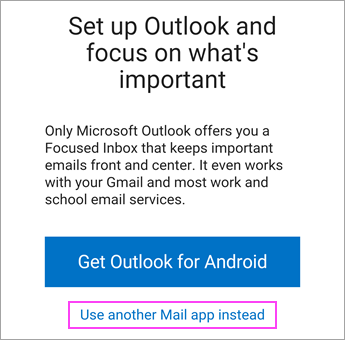
If you see an email that says “Action Required to Sync,” open it and tap Use another Mail app instead. If you don’t see this message, skip this step.
Thanks to Microsoft for their tech note Set up email in Android email app – Microsoft Support